

Mar. 17 2026
Now that the sound recordings appearing on your release are well documented by the maker, it’s time to prepare the release itself, which could be an album, a single, or an EP. A release is the compilation of one or more sound recordings (or songs) into a coherent whole. Even if you only have one song to release, you can’t send it to your distributor without first creating a release.
How Does it Work Today?
Today, a record label releasing a licensed album from a maker will ask the maker to provide all the album credits and then the details of each track, as we saw earlier. It’s at this stage that the differences between record labels and makers become apparent. Indeed, if a label is also a manager or publisher, it will handle more aspects, including declarations for neighboring rights for performers and a greater attention to the works themselves. On the other hand, other record labels will only handle maker declarations (master rights) and sometimes won’t even document the credits for accompanying performers or the production team, and will be lax regarding copyright and copyright notices.
While this has worked reasonably well until now, platforms are starting to ask for more and more details of this kind.
With MetaMusic
By using MetaMusic, integrating a sound recording into a release ensures that all its credits are linked to the recordings and works attached to it. The main task of entering credits is therefore done beforehand, but preparing the release is an important step to consolidate everything and also identify errors, omissions, or other issues. Let’s not forget that MetaMusic will allow you to distribute your album’s metadata to management companies, institutions, or the marketing team. Our connections will later extend to distributors, your internal management systems, and even media outlets and platforms. It is therefore important to verify the information before submitting it. Fortunately, MetaMusic’s interface allows you to perform these validations quickly!
Comment créer une parution dans MétaMusique?
Rendez-vous dans la section parutions de MétaMusique pour créer votre nouvelle parution.
Who can create a release in MetaMusic??
To create a release, you must have one of the following 3 roles:
- Maker (Individual or Company)
- Record Label
- Distributor
Makers and record labels are generally responsible for creation, while the responsibility for documenting the release falls to the record label. Other parties involved in the release will have access to this documentation but cannot create it themselves.
What items will you need?
- Title
- Main artist
- Licensing agent
- Different formats or products of the release
For each format:
- UPC
- Catalog number
- Record label
- Track listing
- Mastering information (studio, engineer, dates)
- Cover art/visual identity contributors
Funding organizations that supported the release (currently only indicative)
Listening links (when available)
1 – Create the Release with the Right Role
From the publications section, after making sure you are using the correct role, click on 
You can confirm that your role is correct under the title section and change it in the left dropdown menu.
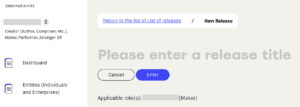
Saississez le titre et entrer.
2 – Add the Release Details
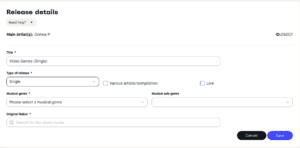
Beyond the title, first indicate what type of release it is: is it a single, an album, or a compilation? This is where you need to mention it.
Then, you will be asked who owns the license for the publication.
- If you created the publication as a producer, it will be automatically associated with you, confirm that it is the correct producer.
- If you are a record label releasing a licensed product, this is where you specify the producer’s name. Type their name to select them.
Continue and then add the featured artist(s) of the release.
3 – Add the Formats or Products of your Release
This is where we enter the section that is generally more dedicated to labels and record companies. Indeed, even if a maker can create and document a product, it will usually be the record company that can complete the information such as the UPC code or the catalog number.
Each release automatically comes with a blank Product. You can therefore start from this blank product, choosing to edit it or create a brand new one (and then delete any unused elements).
In each Product, there are 3 elements to fill in: Details, Format, and Visual Identity.
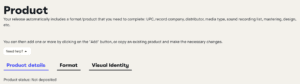
The Format Details section contains vital information for marketing purposes, namely:
- The UPC code and catalog number, if applicable
- The record label and distributor. Self-producing and independent artists can specify that it is an independent production if there is no record label involved.
- The date and country of first release.
- This is also where you specify if it is a reissue, a special edition, or a remastered version, if applicable.
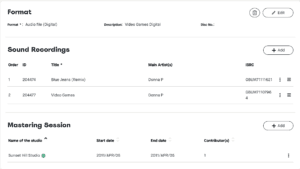
The Format section allows you to specify the details of the format(s) for this Product and – importantly – to add the songs.
- Choose the correct format (multiple options including digital audio file, CD, vinyl, cassette, and others, which may change).
- An optional description to specify one or more elements:
- The disc number, which only applies if you are releasing a physical product with multiple formats;
- The list of audio recordings included in the release. You can change the order of the songs by dragging
- them to the correct position.
- The mastering details (studio, date, and technical contributor) for this format.
- You can add multiple different media if applicable (e.g., CD + Vinyl or Vinyl + Digital).

Finally, the Visual Identity section groups together the details of the publication’s visual identity (image, cover, booklet, etc.)
- What type of visual support (cover/image, booklet, brochure, or other promotional material) is included?
- Is it digital or printed material, and should you provide a description if necessary?
- For example, if you’re including a t-shirt with your CD, it would be relevant to mention this in the description.
- Finally, you should include the collaborators involved in the design, photography, text, etc.
You will have thus completed your first product!
If your release includes multiple formats with similar settings, you can duplicate them as you would for sound recordings. This way, all the main information, such as the tracklist, release date, record label, and mastering and design contributors, will be copied in full. You will then need to modify:
- The product name
- The format (if you’re copying vinyl to CD)
- The UPC code
- The catalog number
Once these elements are updated, this format will be complete.
If you have completed all the formats, you can proceed to the next step.
4 – Add the gala nomination categories, public funding, and listening links.
Once the formats are completed, only a few elements remain to finalize the documentation for your publication.
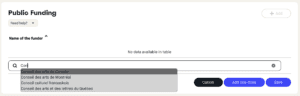
If you have received public funding, you can add it on an indicative and voluntary basis, as in the other steps. Only a few organizations are currently listed, and others may be added. If you represent such an organization or wish to add a funding organization, you can contact the MetaMusic team to discuss this.
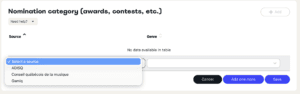
It is also possible to select a nomination category for certain Quebec awards ceremonies, namely the ADISQ Gala, the GAMIQ, and the OPUS Awards from the Conseil Québécois de la Musique. While we are in discussions with these various ceremonies, we do not yet have a role in the nomination process. This is also a suggestion, allowing you to use these genre lists to add tags to your album. Other ceremonies may be added in the future (Junos, Trille Or, East Coast Music Awards, for example).
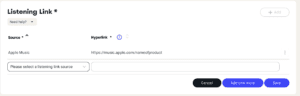
Finally, MetaMusic now allows you to add listening links for the release, whether from an artist’s and/or record label’s website or from streaming platforms. For now, these links are optional and require the album to have already been released. However, they will be very useful for contributing to the BAnQ legal deposit.
Validate the Metadata of your Release
To ensure your release is complete and no crucial elements are missing, MétaMusique provides a detail validation tool. This will give you an indicator for each audio recording and an associated summary:
- the maker
- the performers
- the associated work
If alerts  appear in the table or if any elements seem incomplete, you must correct them if you have permission to do so or notify the collaborator(s) responsible for making the changes.
- In the case of issues related to performers, they can block Artisti declarations.
- Data related to makers will prevent the completion of a Panorama declaration.
- Ultimately, issues related to the work itself will prevent the completion of certain declarations, such as the BAnQ legal deposit, as well as other integrations that will resolve the delays in associating a work with a sound recording from the outset.
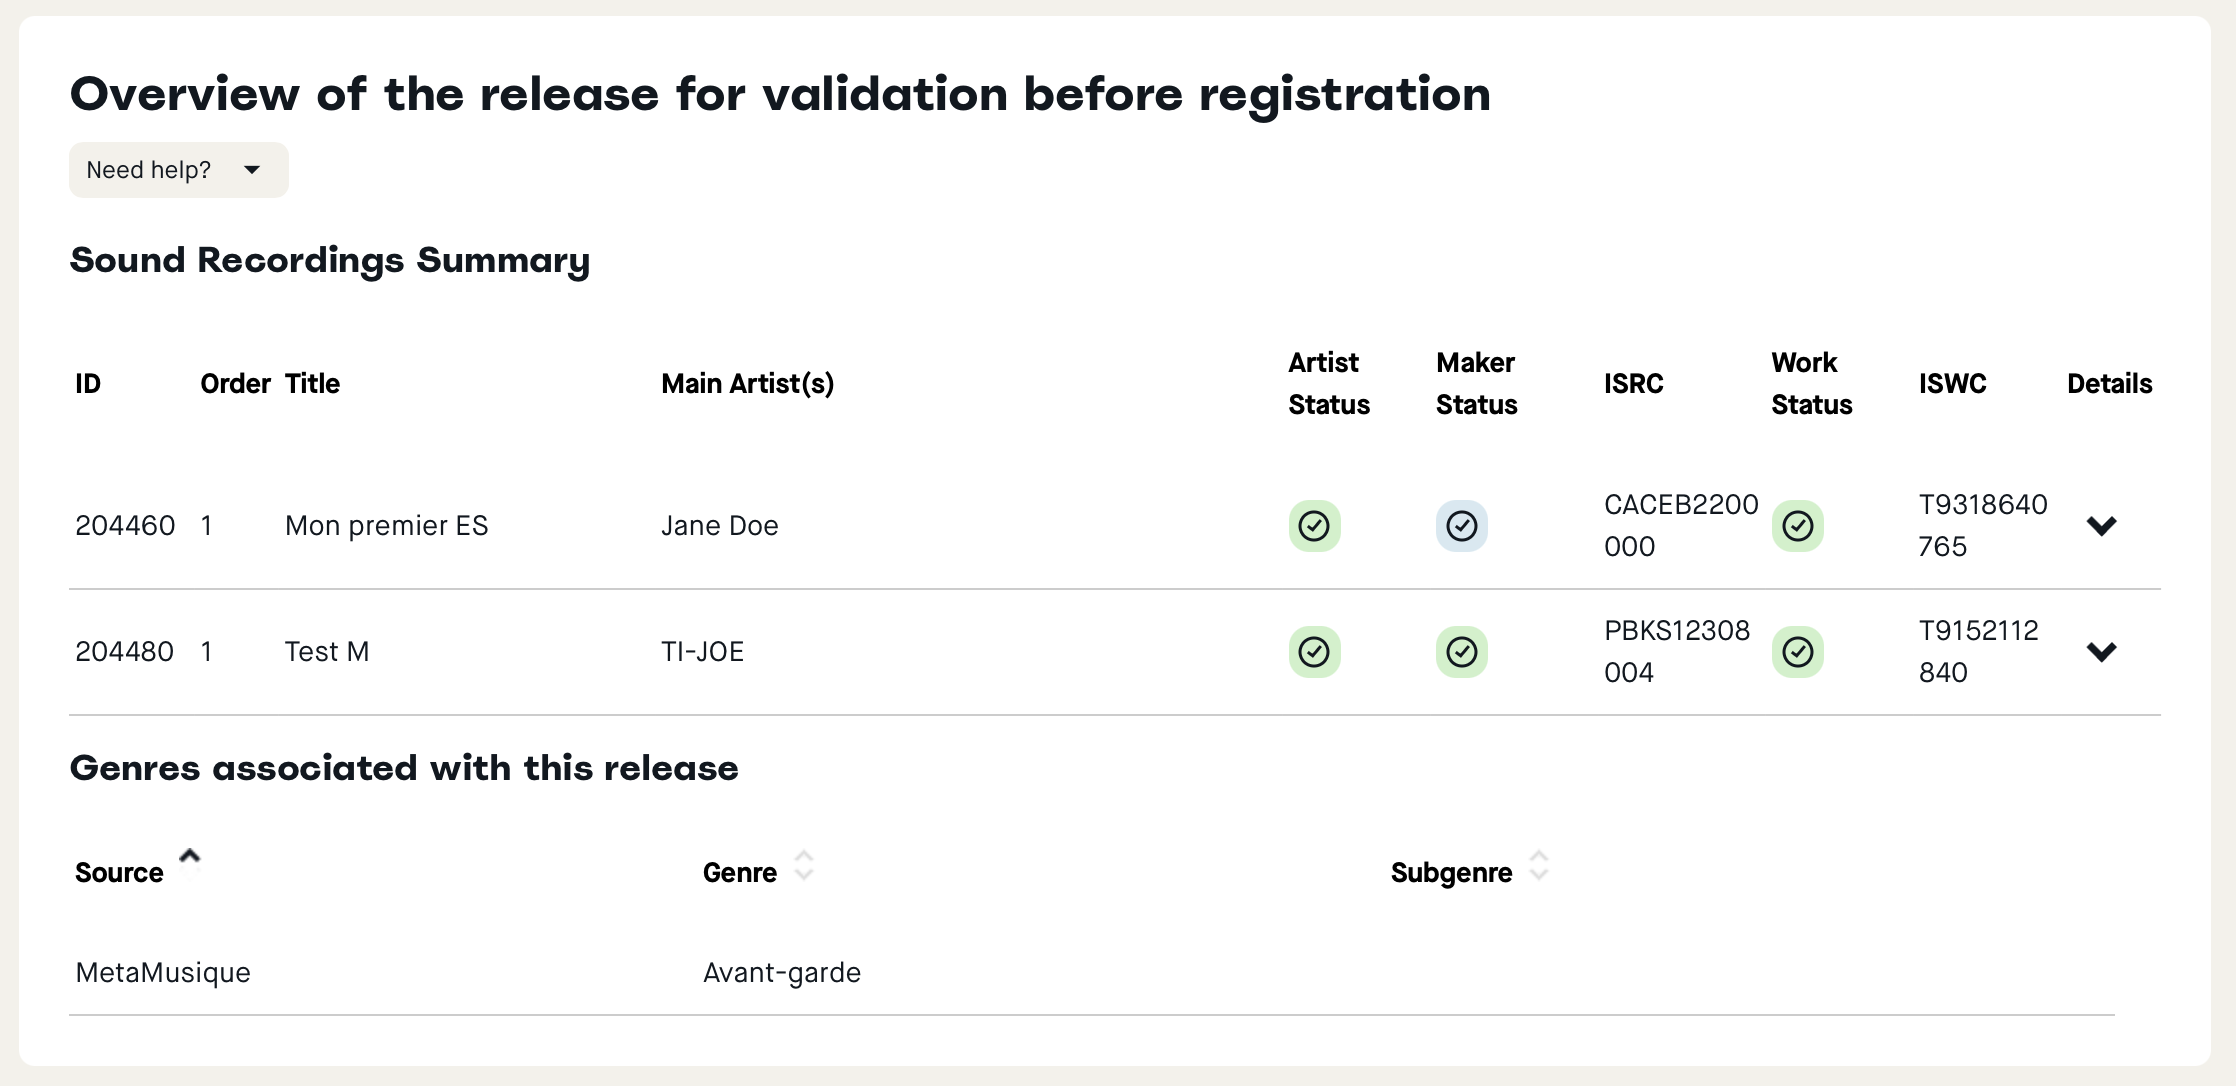
In this section, you can check:
1 – The Titles present in the release.
2 – The Featured Artist or Group interpreting each song
3 – The status of the Artist or Maker:
- An artist with a validated Artisti connection must be part of the release for the Artisti declaration to be possible
- The original producer must have a validated Panorama connection, whether as an individual or a company.
4 – The ISRC of each title: this information is mandatory for Artisti and SOPROQ declarations and will be required for BAnQ legal deposit.
5 – Information related to the original work:
- The work status indicates whether a work is associated with the title.
- The ISWC column displays the work’s identifier.
- If no ISWC appears, you can add it if you own the work or contact support@metamusique.ca.
- Work data is not mandatory for Artisti and Panorama, but will be for the BAnQ legal deposit.
It is also possible to carry out a detailed validation of each part if an error alert occurs on one or other of your tracks. To do this, click  to open the details of a product.
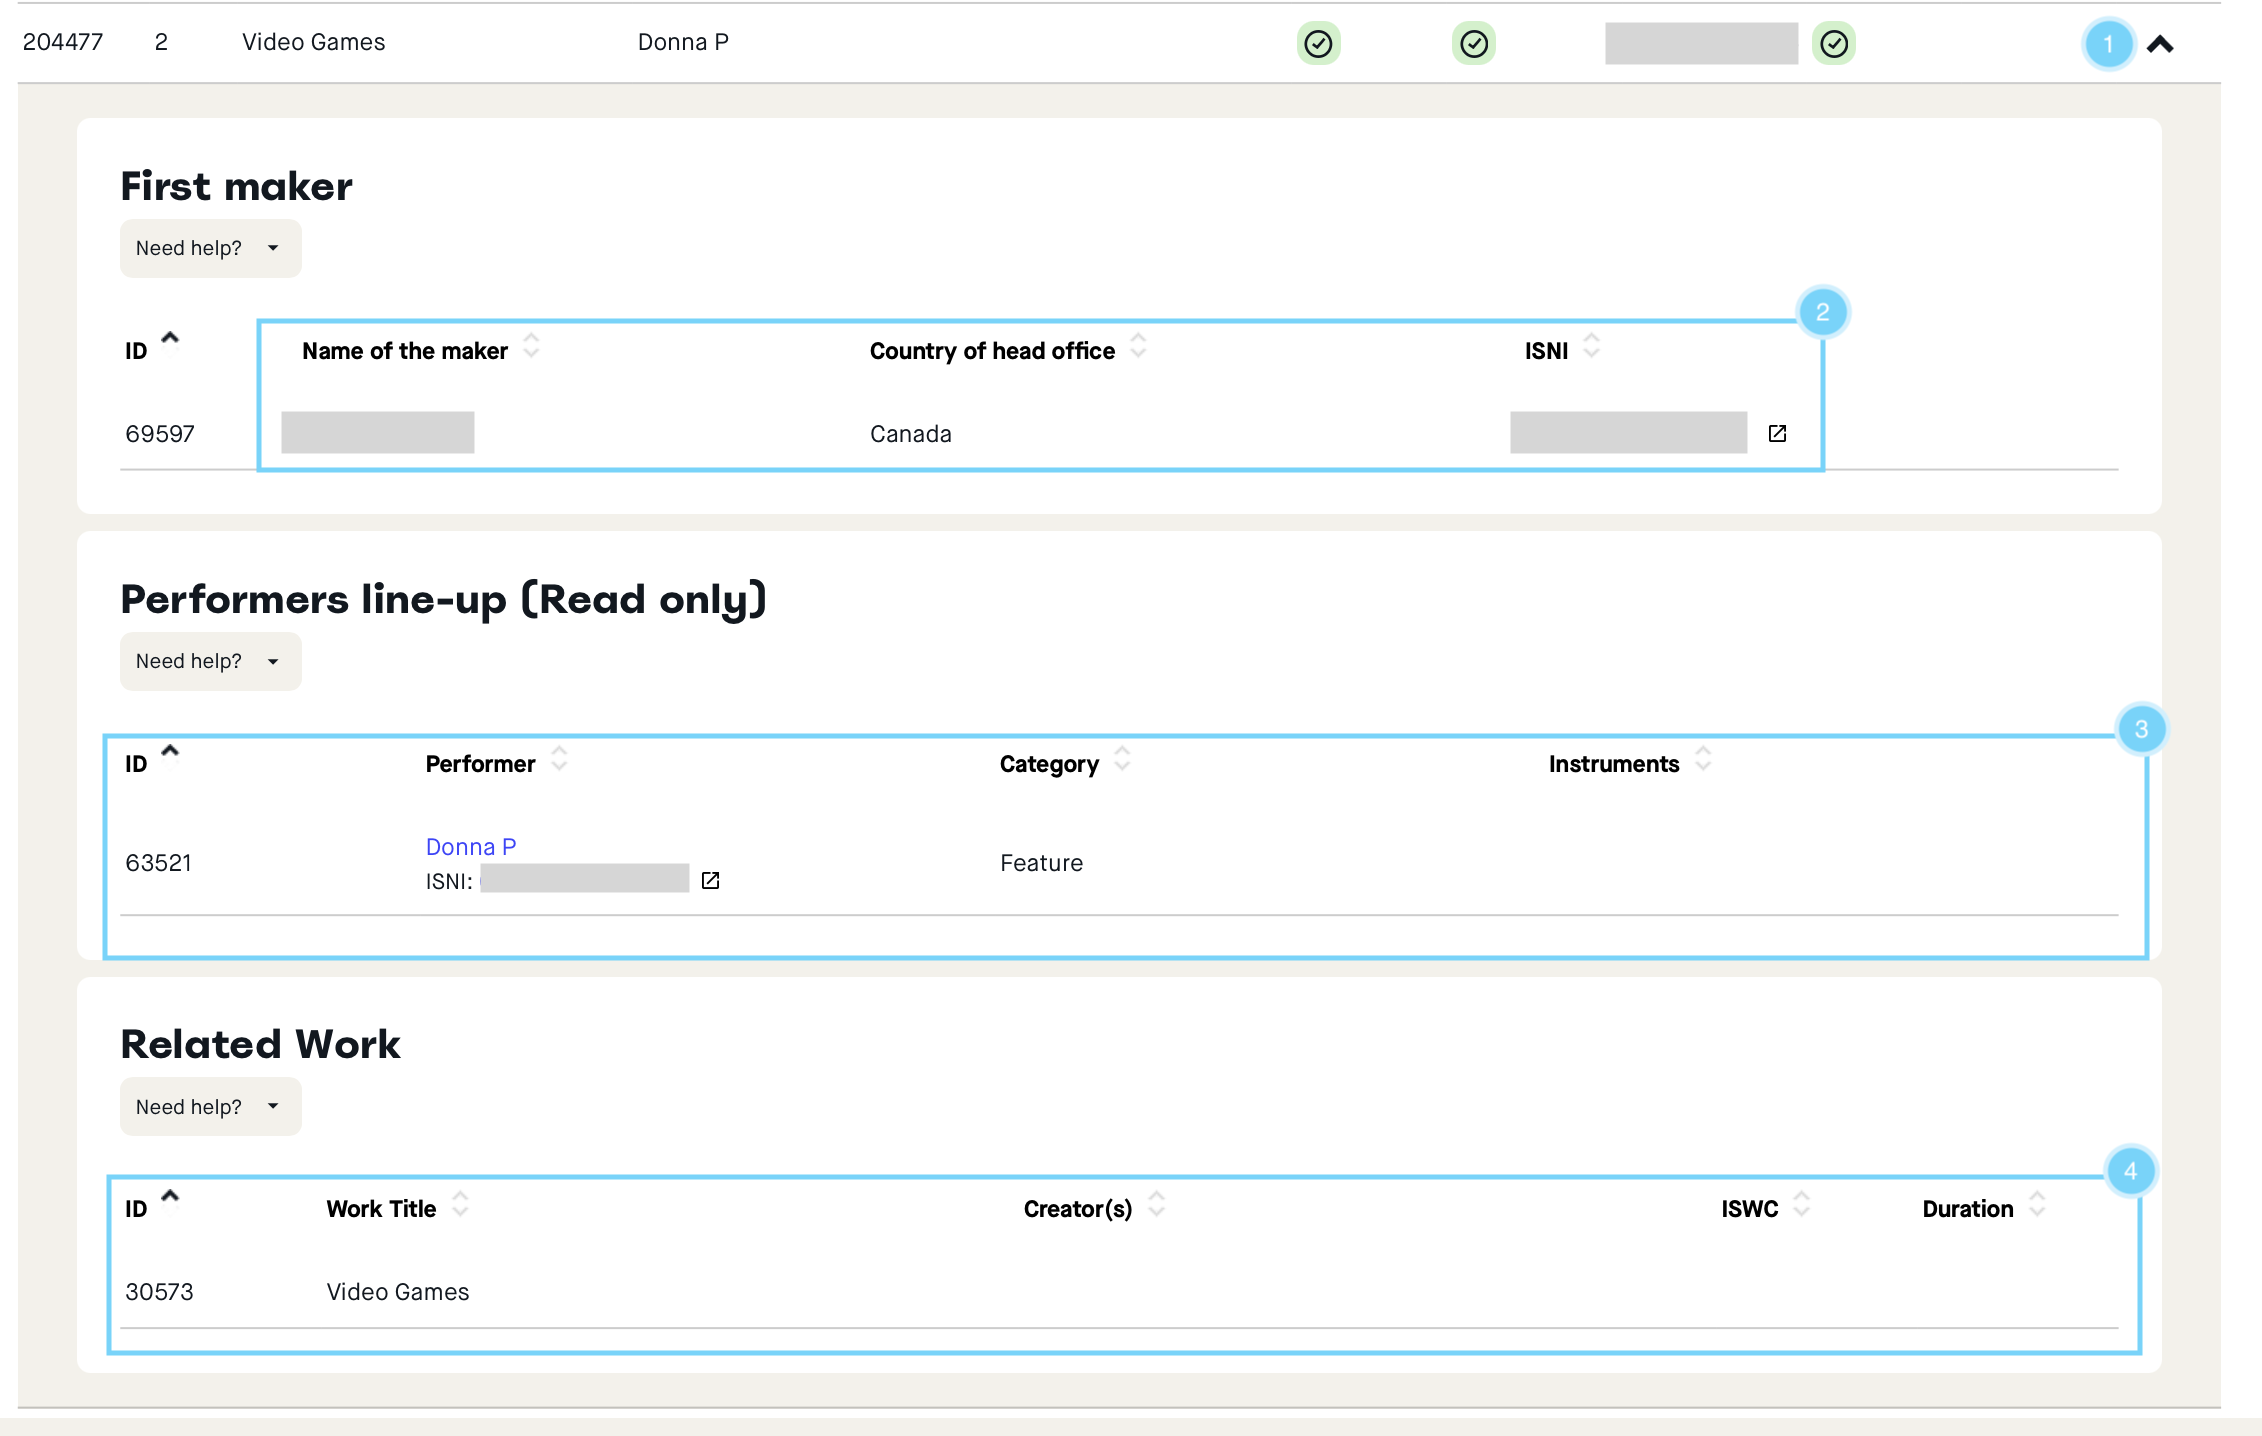
- Click the black arrow to the right of the track to open the details.
- Check the track maker.
- View the list of performers, their categories, and the instruments played.
- Verify that the correct work (and its ISWC) and creator credits are associated with the sound recording.
Below you will find a list of musical genres and tags associated with the recordings in the release. If all the recordings share the same genre, this list will be short, but if you are releasing a compilation that includes several genres, the list will be more comprehensive.
- If any genres or tags seem inconsistent, you can edit them directly in the recordings or notify the producer so they can make the changes if you don’t have access to this section and these recordings.
If everything is complete, your release is now documented and you are ready to submit your declarations and exports!
And Now?
Now that you have finalized your release, it’s time to move on to the stage of submitting declarations to collecting societies and exporting your metadata. If you are responsible for this task for one of the entities you represent, it’s up to you. If this task falls to someone else in your organization, make sure they take charge of it!
Don’t forget that MetaMusic invites you to introductory sessions or workshops on metadata documentation. Come see us with your questions!